Imagine controlling your Raspberry Pi from anywhere in the world—whether you're at a café, on vacation, or simply away from home. This is not just a tech enthusiast's dream but a reality you can achieve with the right setup. A Raspberry Pi, the versatile and compact single-board computer, can be configured to allow remote access, enabling you to manage files, run scripts, or even host a web server from any location. The process involves a combination of networking, security, and software tools, but don’t worry—it’s simpler than it sounds. In this article, we’ll guide you through every step to make your Raspberry Pi accessible from anywhere securely and efficiently.
Remote access to your Raspberry Pi opens up a world of possibilities. Whether you’re a hobbyist, a developer, or someone looking to experiment with IoT (Internet of Things) projects, having your Raspberry Pi available remotely can enhance productivity and convenience. However, it’s crucial to ensure that your setup is secure to prevent unauthorized access. This guide will walk you through the essentials of configuring your Raspberry Pi, setting up a secure connection, and troubleshooting common issues. By the end, you’ll have a fully functional remote-access system tailored to your needs.
As we delve into the details, you'll learn how to configure your Raspberry Pi for remote access, the tools you’ll need, and how to troubleshoot common problems. From understanding SSH (Secure Shell) to setting up dynamic DNS and port forwarding, we’ll cover everything you need to know. Let’s dive in and unlock the full potential of your Raspberry Pi by answering the question: How do I make my Raspberry Pi accessible from anywhere?
Read also:James Hetfields Girlfriend Now A Deep Dive Into His Love Life
Table of Contents
- What is a Raspberry Pi and Why Should You Make It Accessible?
- How Do I Configure My Raspberry Pi for Remote Access?
- What Tools Do You Need to Access Your Raspberry Pi Remotely?
- How Do I Set Up Dynamic DNS for My Raspberry Pi?
- Why Is Port Forwarding Important and How Do I Configure It?
- Can I Access My Raspberry Pi Without Port Forwarding?
- How Do I Secure My Raspberry Pi When Accessing It Remotely?
- Frequently Asked Questions About Remote Access to Raspberry Pi
What is a Raspberry Pi and Why Should You Make It Accessible?
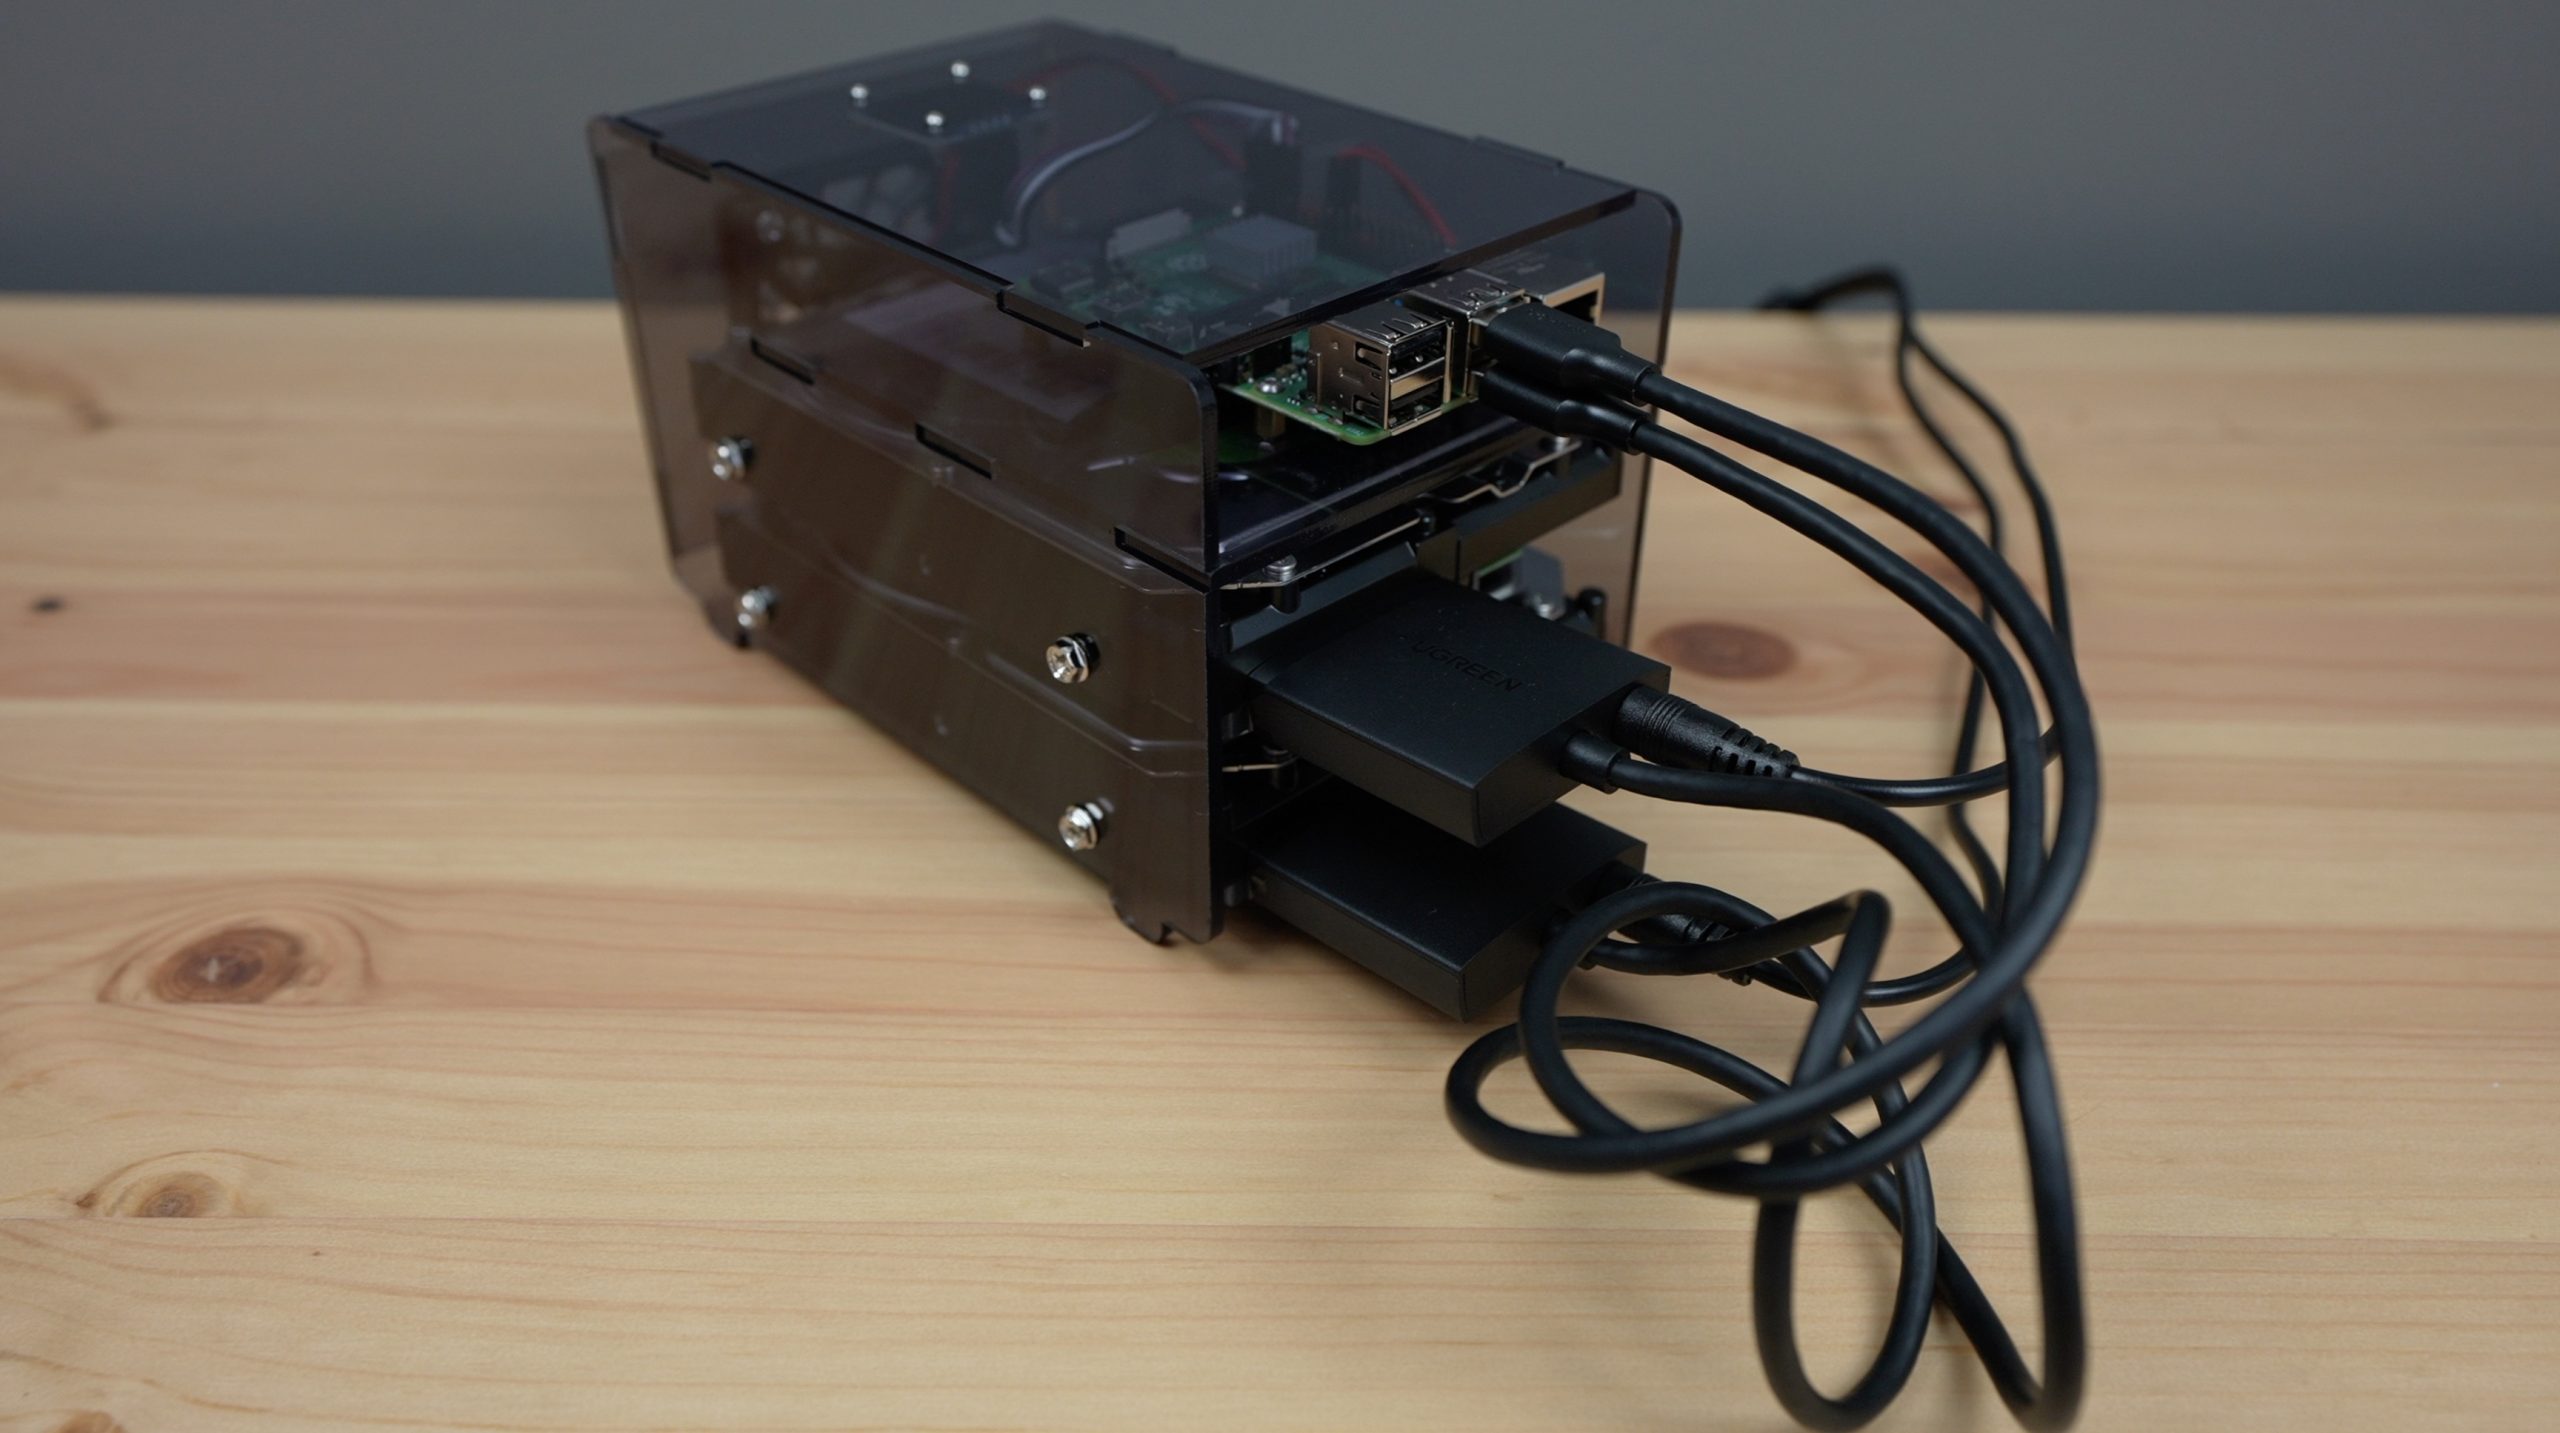
The Raspberry Pi is a credit-card-sized computer developed by the Raspberry Pi Foundation. It’s designed to promote learning in computer science and electronics, but its versatility has made it popular among hobbyists, developers, and even businesses. With its low cost, energy efficiency, and ability to run a variety of operating systems, the Raspberry Pi is an ideal platform for a wide range of projects, from home automation to media servers.
Making your Raspberry Pi accessible from anywhere adds immense value to its functionality. For instance, you could remotely monitor your home security system, control IoT devices, or even run a personal cloud server. The ability to access your Raspberry Pi remotely means you can manage these projects without being physically present, offering unparalleled convenience. Additionally, remote access can be a lifesaver for troubleshooting or updating your Pi without needing to be at home.
However, remote access also comes with challenges, such as ensuring security and dealing with dynamic IP addresses. These challenges can be overcome with the right tools and configurations, which we’ll explore in the following sections. By the end of this guide, you’ll not only know how to make your Raspberry Pi accessible from anywhere but also how to do so safely and efficiently.
How Do I Configure My Raspberry Pi for Remote Access?
Configuring your Raspberry Pi for remote access is the first step toward making it accessible from anywhere. This process involves enabling SSH, setting up a static IP address, and ensuring your Pi is connected to the internet. Let’s break it down step by step.
Step 1: Enabling SSH on Your Raspberry Pi
SSH (Secure Shell) is a protocol that allows secure remote access to your Raspberry Pi. By default, SSH is disabled on most Raspberry Pi operating systems for security reasons. To enable it, follow these steps:
- Connect your Raspberry Pi to a monitor, keyboard, and mouse, or use a terminal emulator if you’re already familiar with SSH.
- Open the Raspberry Pi Configuration tool by navigating to the Preferences menu or typing
sudo raspi-configin the terminal. - Select “Interfacing Options” and then choose “SSH.”
- Enable SSH and reboot your Raspberry Pi.
Once SSH is enabled, you can connect to your Raspberry Pi from another device using an SSH client like PuTTY (for Windows) or the built-in terminal (for macOS and Linux).
Read also:Exploring Richard Dreyfuss A Remarkable Career And Legacy
Step 2: Setting Up a Static IP Address
A static IP address ensures that your Raspberry Pi always has the same local IP address, making it easier to connect to remotely. Without a static IP, your router may assign a new IP address to your Pi every time it restarts, complicating remote access.
To set up a static IP address:
- Open the terminal on your Raspberry Pi and type
sudo nano /etc/dhcpcd.conf. - Add the following lines, replacing the placeholders with your network details:
interface eth0 static ip_address=192.168.1.100/24 static routers=192.168.1.1 static domain_name_servers=8.8.8.8 8.8.4.4
- Save the file and reboot your Raspberry Pi.
With SSH enabled and a static IP address configured, your Raspberry Pi is now ready for remote access. The next steps involve setting up tools like Dynamic DNS and port forwarding, which we’ll cover in subsequent sections.
What Tools Do You Need to Access Your Raspberry Pi Remotely?
Accessing your Raspberry Pi remotely requires a combination of software tools and configurations. These tools not only facilitate the connection but also enhance security and functionality. Let’s explore the essential and optional tools you’ll need.
Essential Software for Remote Access
- SSH Clients: Tools like PuTTY (Windows) or OpenSSH (macOS/Linux) are necessary for initiating a secure connection to your Raspberry Pi.
- Dynamic DNS Services: Services like No-IP or DuckDNS help map a domain name to your Raspberry Pi’s dynamic IP address, ensuring you can always connect to it.
- Port Forwarding: Configuring your router to forward specific ports to your Raspberry Pi’s IP address is crucial for external access.
Optional Tools for Enhanced Functionality
- VNC Viewer: For graphical remote access, VNC Viewer allows you to control your Raspberry Pi’s desktop environment from another device.
- Cloudflare Tunnel: This tool provides a secure way to access your Raspberry Pi without port forwarding, ideal for users with restrictive ISPs.
- File Transfer Tools: Tools like WinSCP or FileZilla enable secure file transfers between your Raspberry Pi and other devices.
With these tools in place, you’ll have a robust setup for accessing your Raspberry Pi remotely. The next sections will guide you through setting up Dynamic DNS and configuring port forwarding, two critical steps in making your Raspberry Pi accessible from anywhere.
How Do I Set Up Dynamic DNS for My Raspberry Pi?
Dynamic DNS (DDNS) is a service that maps a domain name to a dynamic IP address, which is essential for remote access. Since most home internet connections use dynamic IPs that change periodically, DDNS ensures you can always connect to your Raspberry Pi using a consistent domain name.
To set up DDNS:
- Sign up for a DDNS service like No-IP or DuckDNS. These services often offer free plans for basic usage.
- Create a hostname (e.g.,
myraspberrypi.ddns.net) and associate it with your current IP address. - Install the DDNS client on your Raspberry Pi. For DuckDNS, you can use a simple script to update your IP address periodically:
#!/bin/bash echo url="https://www.duckdns.org/update?domains=myraspberrypi&token=your_token&ip=" | curl -k -o ~/duckdns/duck.log -K -
- Schedule the script to run automatically using cron jobs.
With DDNS configured, you can now access your Raspberry Pi using the domain name instead of remembering its IP address.
Why Is Port Forwarding Important and How Do I Configure It?
Port forwarding is a router configuration that allows external devices to access your Raspberry Pi by forwarding specific ports to its local IP address. This step is crucial for remote access, as it enables incoming connections to reach your Pi.
To configure port forwarding:
- Access your router’s admin panel by typing its IP address (e.g.,
192.168.1.1) into a web browser. - Navigate to the port forwarding section and create a new rule.
- Forward port 22 (for SSH) to your Raspberry Pi’s static IP address.
- Save the changes and restart your router if necessary.
With port forwarding set up, your Raspberry Pi is now accessible from the internet. However, keep in mind that exposing your Pi to the internet requires robust security measures, which we’ll discuss in a later section.
Can I Access My Raspberry Pi Without Port Forwarding?
Yes, you can access your Raspberry Pi without port forwarding by using tools like Cloudflare Tunnel or ngrok. These services create a secure tunnel between your Raspberry Pi and the internet, bypassing the need for port forwarding.
For example, with Cloudflare Tunnel:
- Install the Cloudflare Tunnel client on your Raspberry Pi.
- Create a tunnel and associate it with your domain name.
- Configure the tunnel to forward traffic to your Raspberry Pi’s local IP address.
This method is particularly useful if your ISP blocks port forwarding or if you want an extra layer of security.
How Do I Secure My Raspberry Pi When Accessing It Remotely?
Securing your Raspberry Pi is paramount when enabling remote access. Here are some best practices:
- Use strong, unique passwords for your Pi and SSH connections.
- Enable two-factor authentication (2FA) for an additional layer of security.
- Regularly update your Raspberry Pi’s operating system and software to patch vulnerabilities.