Table of Contents
Introduction
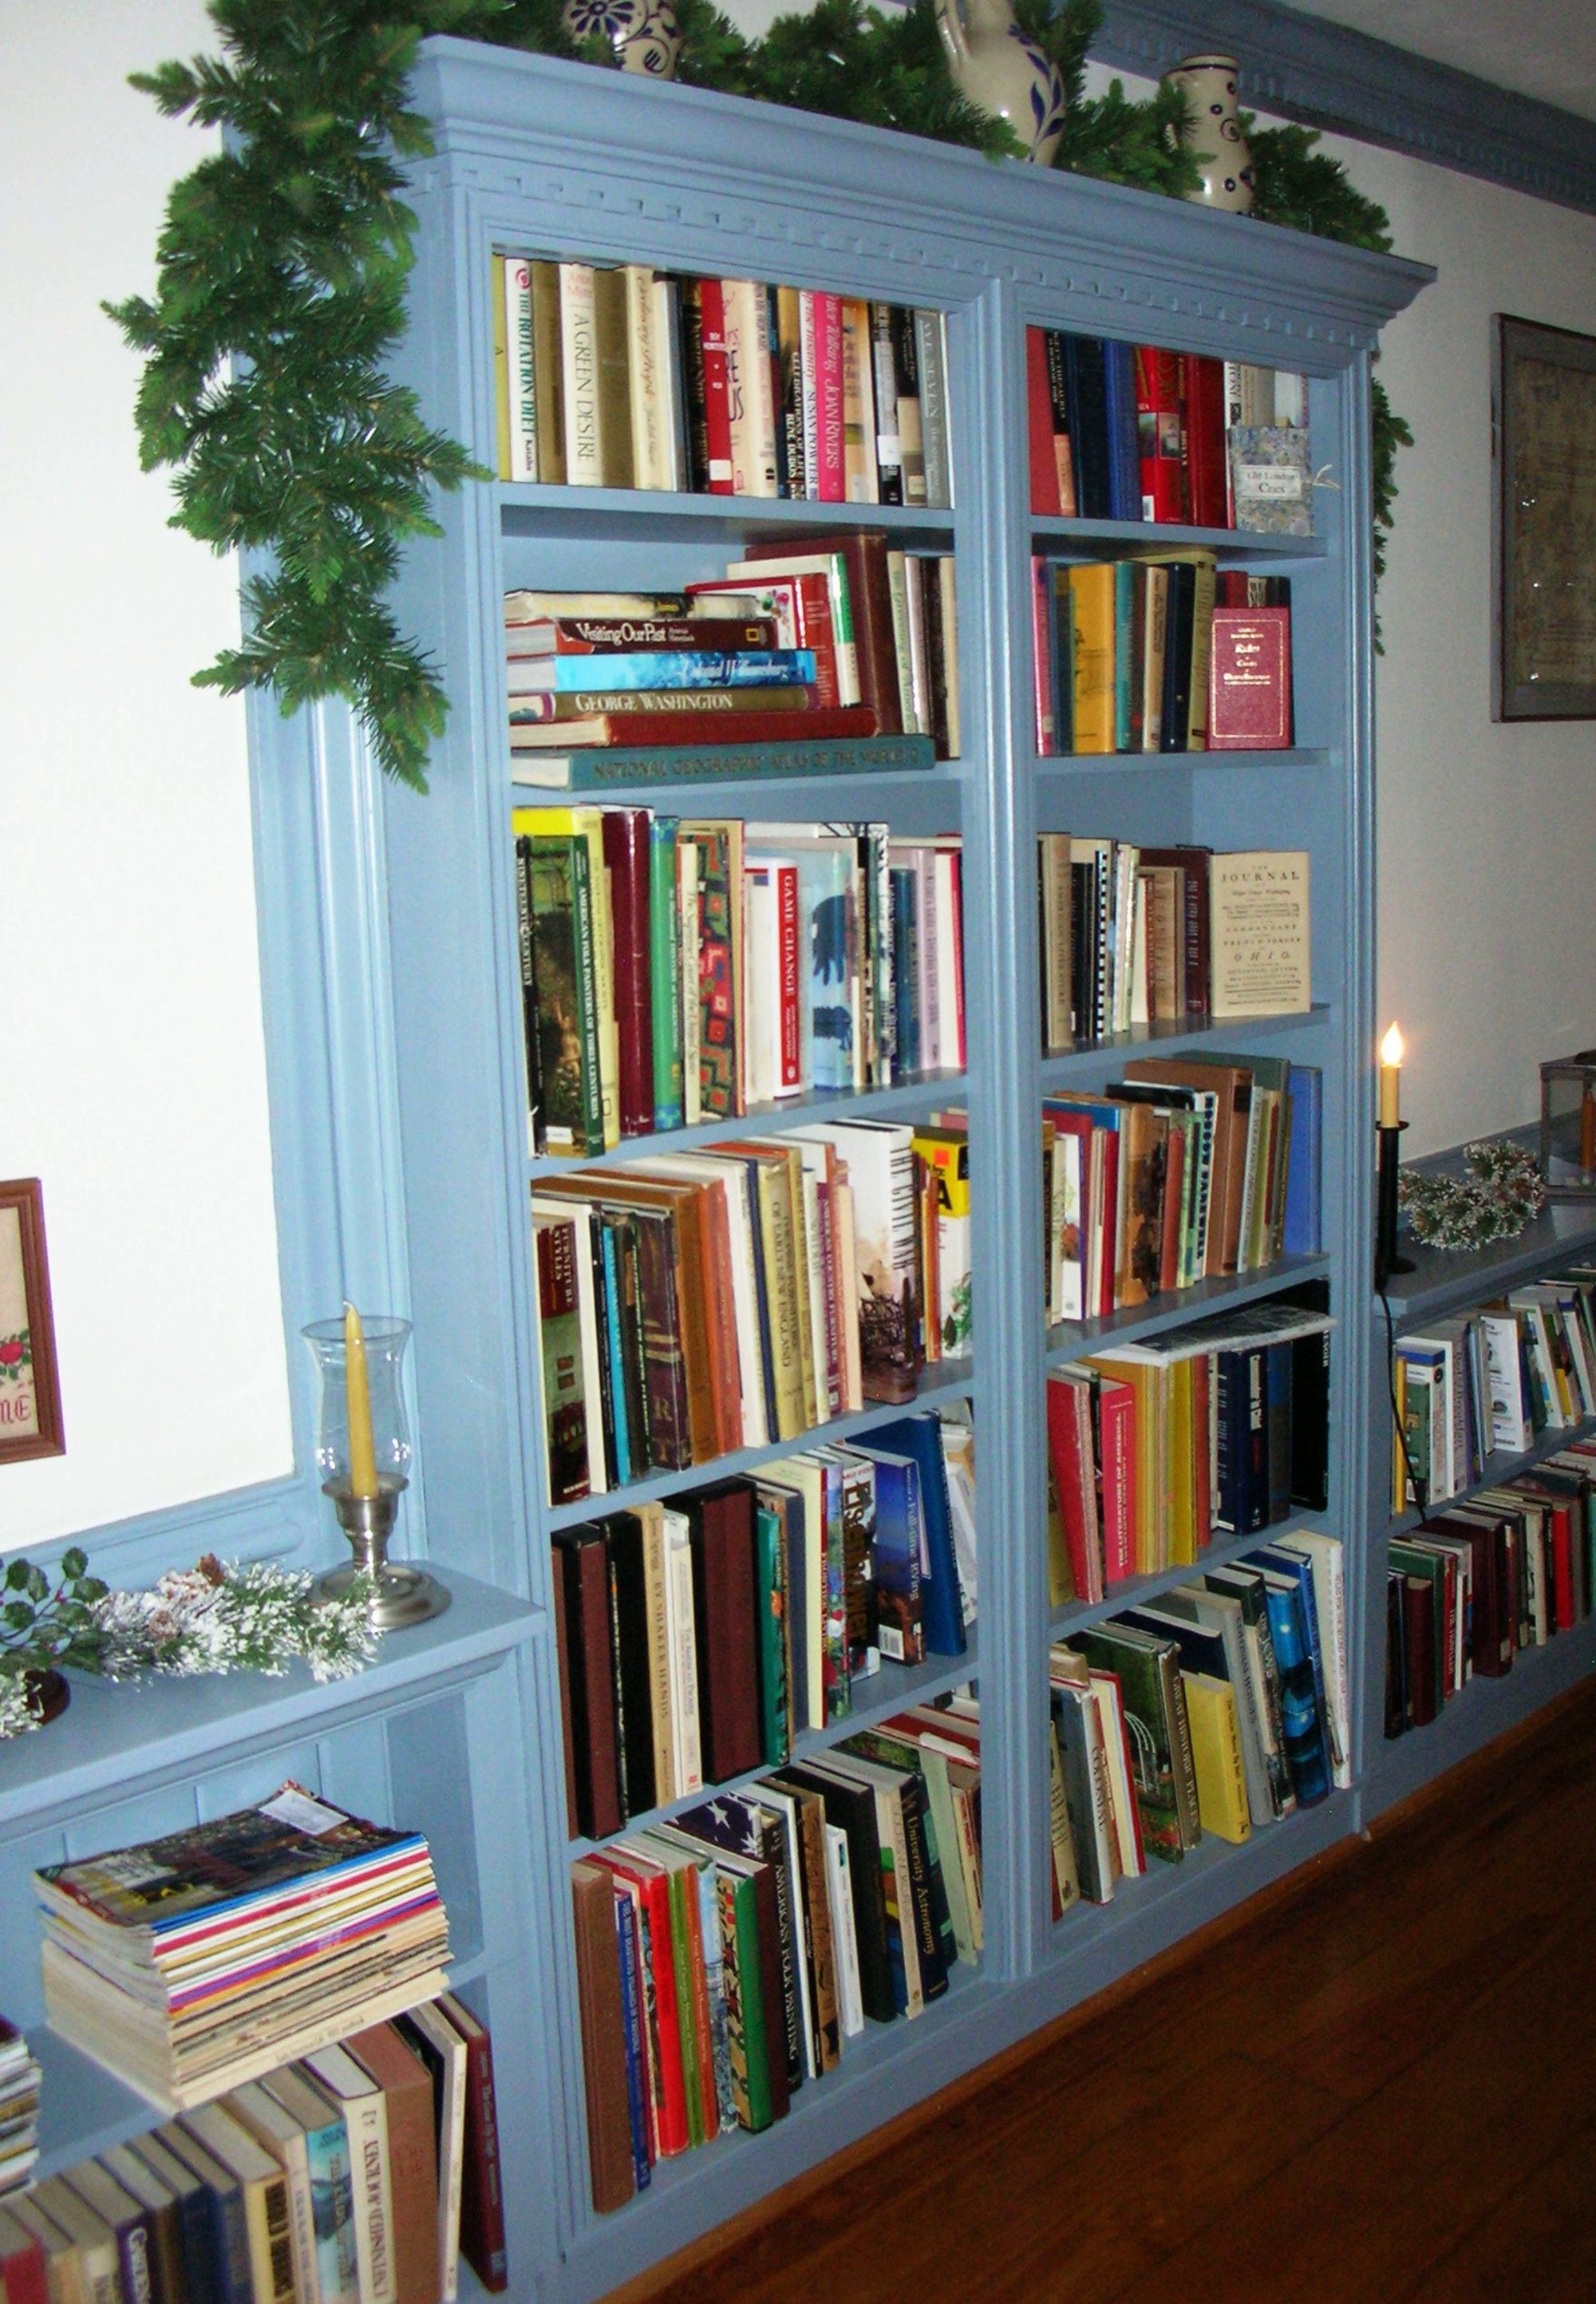
Building your own bookcase is an excellent way to add both functionality and personality to your living space. Whether you're a seasoned DIY enthusiast or a beginner looking for a rewarding project, creating a custom bookcase allows you to tailor the design to your specific needs and preferences. With the right tools, materials, and a bit of patience, you can construct a sturdy and stylish bookcase that perfectly complements your home decor.
Many people shy away from DIY projects because they assume they lack the necessary skills or tools. However, building a bookcase is a manageable task that can be completed over a weekend with proper planning. This guide will walk you through every step of the process, from measuring and planning to sanding and finishing, ensuring that even beginners can achieve professional-looking results.
Read also:Redman Net Worth The Life Career And Wealth Of The Legendary Rapper
Not only does building your own bookcase save money compared to purchasing a pre-made one, but it also provides a sense of accomplishment and pride in creating something with your own hands. Plus, you can customize the size, style, and finish to match your unique taste and space requirements. Let’s dive into the details of how to build your own bookcase step by step.
Why Build Your Own Bookcase?
There are several compelling reasons to take on the project of building your own bookcase. First and foremost, it allows you to create a piece of furniture that is perfectly suited to your needs. Pre-made bookcases often come in standard sizes that may not fit your space or accommodate your collection of books and decor. By building your own, you can ensure that the dimensions are just right.
Another advantage is cost-effectiveness. Store-bought bookcases, especially those made from high-quality materials, can be expensive. By sourcing your own materials and putting in the labor, you can significantly reduce costs while still achieving a durable and attractive result. Additionally, DIY projects often provide a higher level of customization. You can choose the type of wood, the finish, and even the design elements to match your personal style.
Finally, building a bookcase is a rewarding experience that enhances your DIY skills. It’s a great way to learn new techniques, such as cutting wood, assembling frames, and applying finishes. Completing a project like this boosts your confidence and inspires you to take on more complex DIY tasks in the future.
Tools and Materials You'll Need
Before you begin building your bookcase, it’s essential to gather all the necessary tools and materials. Having everything ready will make the process smoother and more efficient. Below is a list of items you’ll need:
- Wood: Plywood or solid wood boards for the shelves and frame.
- Saw: A circular saw or table saw for cutting wood.
- Drill: For assembling the frame and attaching shelves.
- Screws and Nails: Wood screws and finishing nails.
- Sandpaper: Various grits for smoothing the wood.
- Wood Glue: For reinforcing joints.
- Measuring Tape: To ensure accurate cuts and alignments.
- Level: To ensure the bookcase is straight and even.
- Paint or Stain: For finishing the bookcase.
- Brushes or Rollers: For applying paint or stain.
Make sure to purchase high-quality materials, as this will directly impact the durability and appearance of your bookcase. If you’re unsure about the type of wood to use, consult with a professional at your local hardware store for recommendations based on your project requirements.
Read also:Who Is David Muirs Wife Unveiling The Life Of The Abc News Anchors Better Half
Step 1: Measure and Plan
Before you start cutting wood, take the time to carefully measure and plan your bookcase design. This step is crucial for ensuring that your bookcase fits the intended space and meets your functional needs. Begin by measuring the area where the bookcase will be placed, taking note of the height, width, and depth.
Once you have the measurements, sketch a simple design on paper. Include the number of shelves, their spacing, and any additional features like decorative trim or backing. Consider the weight the shelves will need to support, as this will influence the thickness of the wood you choose. For example, shelves holding heavy books should be made from thicker wood to prevent sagging.
Finally, create a cut list detailing the dimensions of each piece of wood you’ll need. Double-check your calculations to avoid mistakes during the cutting process. Proper planning at this stage will save you time and frustration later on.
Step 2: Cut the Wood
With your plan in hand, it’s time to cut the wood according to your measurements. Begin by setting up your saw in a safe and stable workspace. If you’re using a circular saw, clamp the wood securely to prevent it from moving during cuts.
Carefully cut each piece of wood, labeling them as you go to keep track of their intended placement in the bookcase. For example, mark the side panels, shelves, and top and bottom pieces. Precision is key here, as even small inaccuracies can affect the final assembly.
Once all the pieces are cut, use sandpaper to smooth the edges and surfaces. This will prevent splinters and create a clean finish. Take your time with this step, as it will make the assembly process easier and improve the overall appearance of the bookcase.
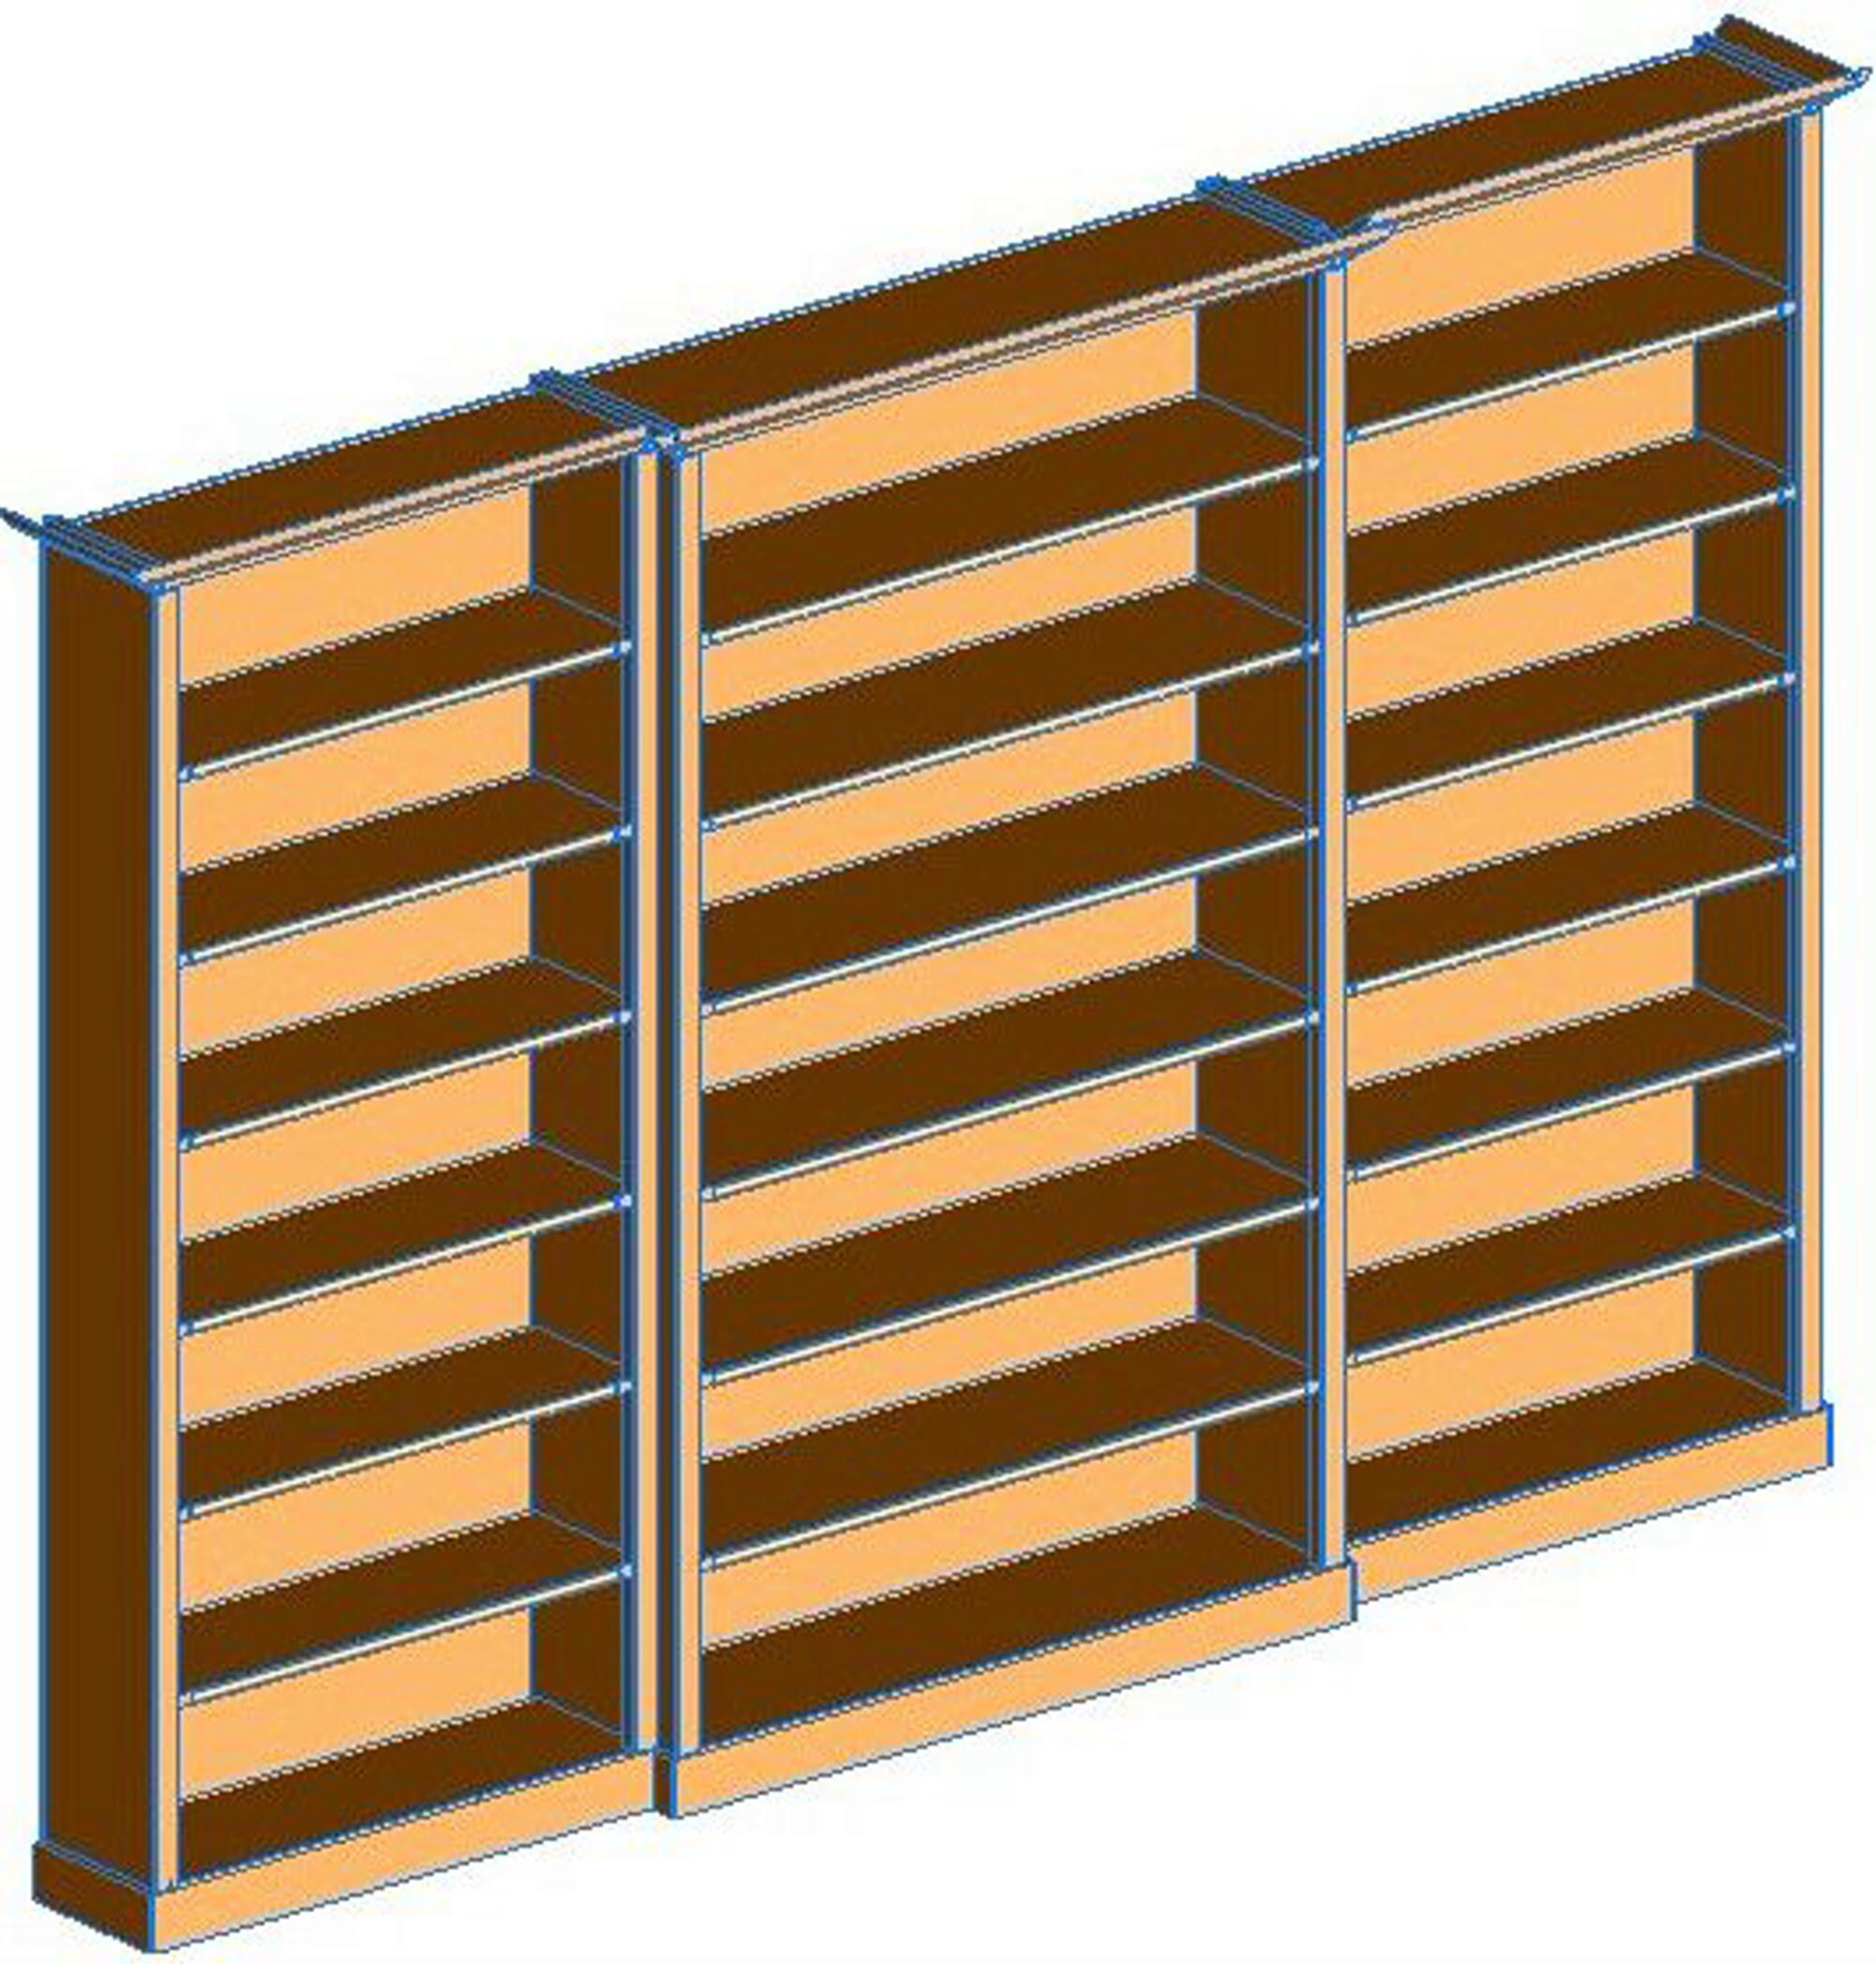
Step 3: Assemble the Frame
Now that your pieces are cut and sanded, it’s time to assemble the frame of the bookcase. Start by laying the side panels flat on your work surface. Attach the top and bottom pieces to the side panels using wood screws. Drill pilot holes first to prevent the wood from splitting.
Once the frame is assembled, check for squareness using a carpenter’s square. Adjust as needed to ensure the corners are perfectly 90 degrees. This step is critical for stability and alignment. If necessary, reinforce the joints with wood glue for added strength.
Finally, let the glue dry completely before moving on to the next step. A sturdy frame is the foundation of a durable bookcase, so take the time to ensure it’s solid and well-constructed.
Step 4: Install the Shelves
With the frame complete, it’s time to install the shelves. Begin by marking the desired shelf positions on the inside of the side panels. Use a level to ensure the marks are even and consistent.
Attach shelf supports or cleats to the side panels at the marked positions. These supports will hold the shelves in place and prevent them from sagging under the weight of books. Once the supports are in place, slide the shelves onto them and secure them with screws from the underside.
Double-check the alignment of the shelves to ensure they are level. If necessary, make adjustments before tightening all the screws. Properly installed shelves will enhance the functionality and appearance of your bookcase.
Step 5: Sand and Finish
After the assembly is complete, it’s time to sand and finish the bookcase. Start by sanding the entire piece with fine-grit sandpaper to remove any rough spots or imperfections. Pay special attention to the edges and corners, as these areas are prone to splinters.
Once the sanding is complete, wipe down the bookcase with a damp cloth to remove dust. Allow it to dry completely before applying your chosen finish. Whether you opt for paint, stain, or a clear sealant, apply it evenly using a brush or roller. For best results, apply multiple thin coats, allowing each coat to dry before adding the next.
A well-finished bookcase not only looks more professional but also provides protection against wear and tear. Take your time with this step to achieve a polished and durable result.
Step 6: Mount the Bookcase
If your bookcase is tall or freestanding, it’s a good idea to secure it to the wall for safety. Begin by locating the wall studs using a stud finder. Mark their positions on the wall to ensure accurate placement of the mounting hardware.
Attach L-brackets or other mounting hardware to the back of the bookcase and the wall studs. Use screws that are long enough to penetrate the studs but not so long that they damage the wall. Tighten the screws securely to prevent the bookcase from tipping over.
Once mounted, check the stability of the bookcase by gently pushing on it. It should feel solid and secure. Properly mounting your bookcase ensures safety, especially in homes with children or pets.
Tips for a Successful Bookcase Project
Building a bookcase can be a rewarding experience, but it’s important to approach the project with care and attention to detail. Here are some tips to help ensure success:
- Plan Thoroughly: Take the time to create a detailed plan and cut list before starting.
- Use Quality Materials: Invest in durable wood and hardware for a long-lasting result.
- Work Safely: Always wear protective gear and follow safety guidelines when using tools.
- Double-Check Measurements: Measure twice and cut once to avoid costly mistakes.
- Take Your Time: Rushing through the process can lead to errors. Patience is key.
By following these tips, you’ll increase your chances of completing a successful and satisfying bookcase project.
Conclusion
Building your own bookcase is a fulfilling DIY project that combines functionality with creativity. By following this step-by-step guide, you can create a custom piece of furniture that perfectly suits your needs and enhances your living space. From planning and cutting to assembling and finishing, each step is designed to ensure a professional and durable result.
Remember, the key to success lies in thorough preparation, quality materials, and attention to detail. Whether you’re a beginner or an experienced DIY enthusiast, this project offers an opportunity to develop new skills and take pride in your work. We encourage you to share your experience or ask questions in the comments below. Happy building!