Creating a realistic and detailed sneaker drawing can be a rewarding experience for artists of all levels. Whether you're a beginner or a seasoned sketch artist, learning how to draw a sneaker involves understanding shapes, forms, and textures. Sneakers are not only a popular fashion item but also an interesting subject to draw due to their complex design and variety of styles. Each brand and model has its unique features, making sneakers an exciting challenge for artists.
When you approach the task of drawing a sneaker, it's essential to observe and analyze the structure and details of the specific sneaker model you want to replicate. This includes the sole, laces, tongue, and any distinctive branding or design elements. Paying attention to these aspects will help you create a more accurate and visually appealing drawing. Additionally, mastering the art of shading and highlighting is crucial for adding depth and realism to your sneaker illustration.
In this comprehensive guide, we'll break down the process of drawing a sneaker into easy-to-follow steps. From sketching the basic outline to adding intricate details, each step will provide valuable tips and techniques to enhance your drawing skills. Whether you're drawing for fun or aiming to improve your artistic abilities, this guide will equip you with the knowledge and confidence needed to draw sneakers with precision and flair. Let's dive in and explore the world of sneaker art!
Read also:Unearthing The Magic Of Nelly And Tim Mcgraws Over And Over
Table of Contents
- Understanding the Sneaker Anatomy
- Gathering Your Drawing Tools
- How to Draw a Sneaker Outline
- Adding Details to Your Sneaker Drawing
- Shading and Highlighting Your Sneaker
- Drawing Different Sneaker Styles
- How Does Perspective Affect Sneaker Drawing?
- Tips for Enhancing Your Sneaker Drawing
- Common Mistakes When Drawing Sneakers
- How to Draw a Sneaker from a Photo
- How Can You Add Texture to Your Sneaker Drawing?
- Exploring Digital Sneaker Drawing Tools
- How to Draw a Sneaker Using Grid Method
- Frequently Asked Questions
- Conclusion
Understanding the Sneaker Anatomy
Before diving into drawing, it's essential to understand the basic anatomy of a sneaker. Sneakers typically consist of several parts that contribute to their unique design and functionality. Recognizing these components will aid in creating a more accurate representation in your drawings.
The main parts of a sneaker include:
- Upper: The top part of the sneaker that covers the foot. It is often made of materials like leather, mesh, or knit fabric.
- Sole: The bottom part that comes in contact with the ground. It includes the outsole, midsole, and insole, each contributing to the sneaker's comfort and performance.
- Tongue: A piece that sits underneath the laces and provides cushioning and comfort.
- Laces: Used to secure the sneaker on the foot, they come in various styles and can be a focal point in the design.
- Heel Counter: A supportive element around the heel area, providing stability.
Understanding these parts and their functions will help you visualize the sneaker's shape and design, making it easier to draw with accuracy and detail.
Gathering Your Drawing Tools
To start drawing a sneaker, you need the right tools. Having the proper equipment will make the drawing process smoother and more enjoyable. Here's a list of basic tools you'll need:
- Pencils: Use a range of pencils from hard (H) to soft (B) for different levels of shading and detailing.
- Erasers: A kneaded eraser is useful for lightening areas, while a regular eraser can remove unwanted lines.
- Paper: Choose a good quality sketch paper that can handle erasing and multiple pencil strokes.
- Ruler: For drawing straight lines and maintaining proportionality.
- Sharpener: Keep your pencils sharp for fine details.
With these tools in hand, you'll be well-prepared to embark on your sneaker drawing journey.
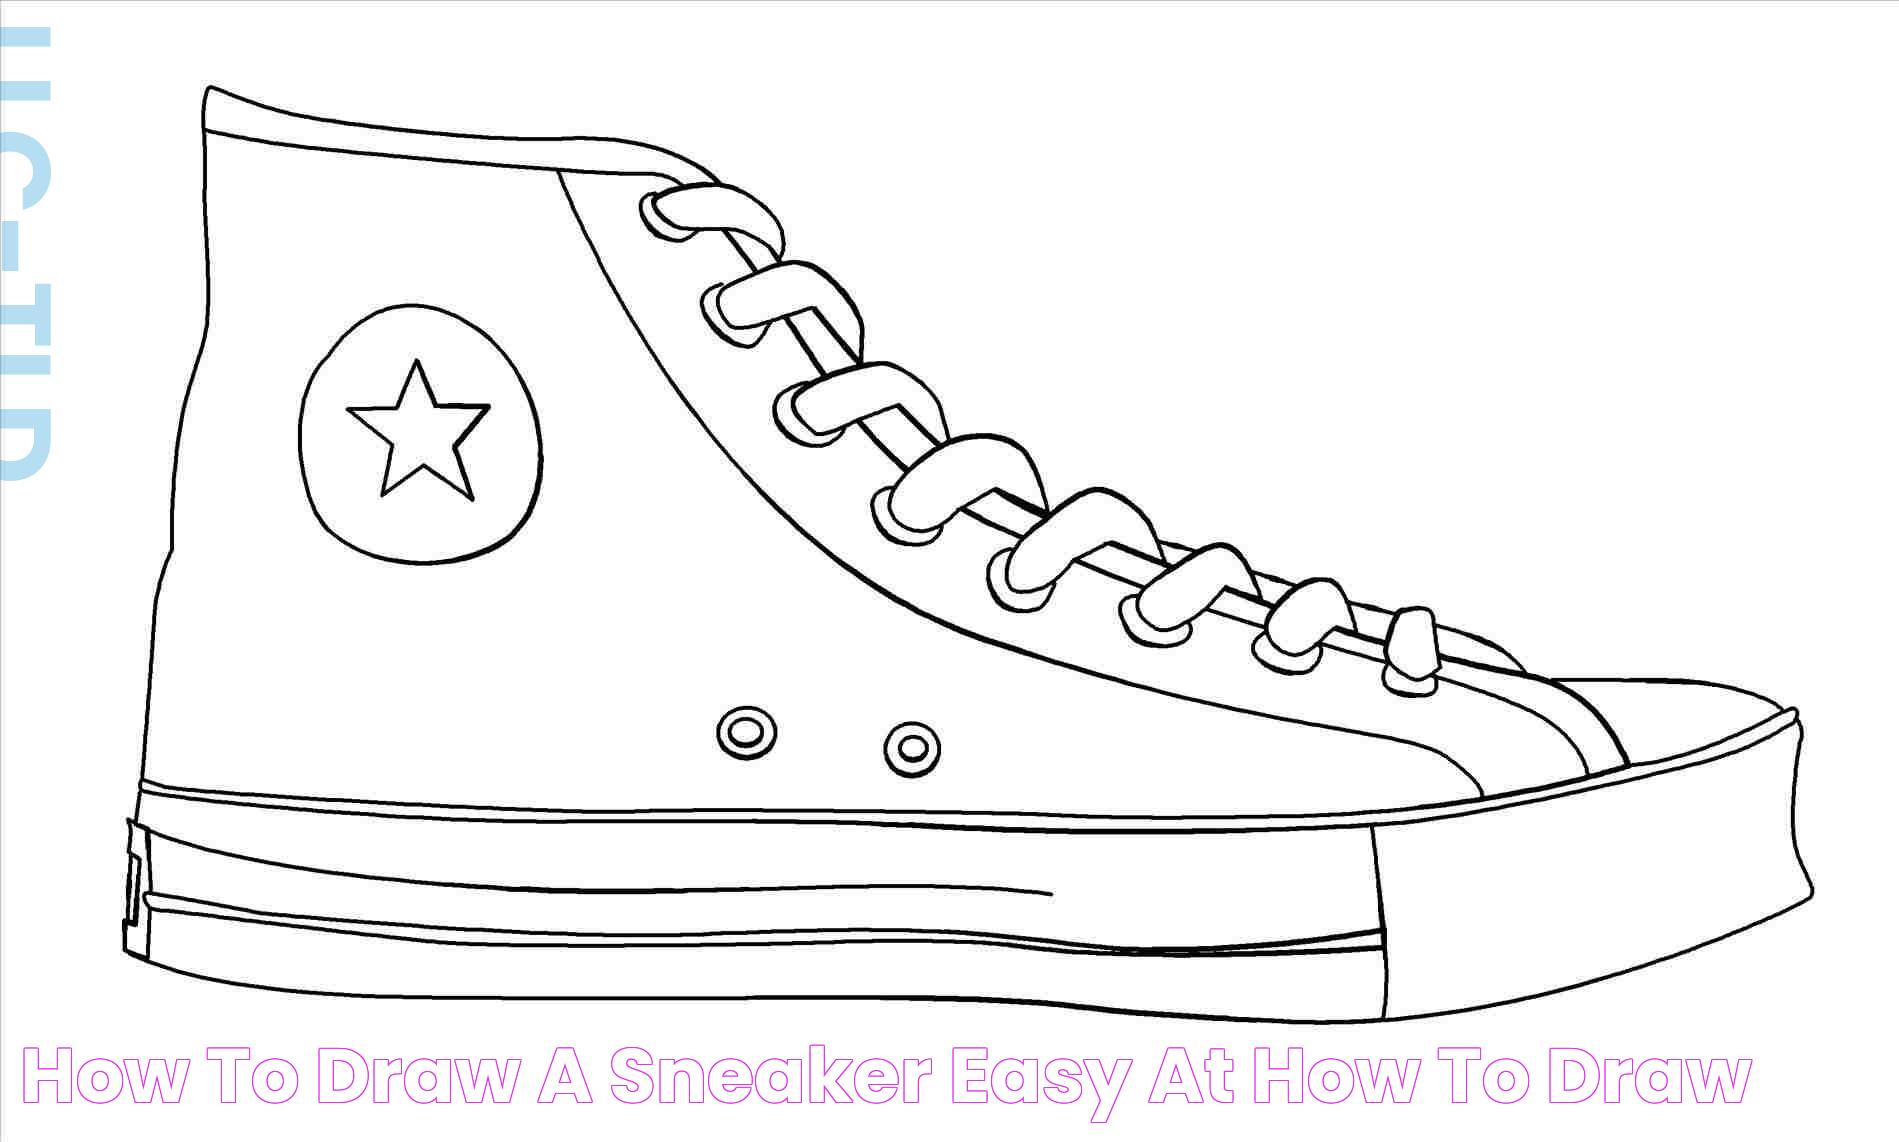
How to Draw a Sneaker Outline
Starting with a solid outline is the first step in creating a realistic sneaker drawing. The outline serves as the foundation upon which you'll build the rest of your drawing. Here's how to get started:
Read also:616 La Lyrics A Deep Dive Into Meaning And Impact
- Study Reference Images: Find clear images of the sneaker you want to draw. Pay attention to the angles and shapes.
- Draw the Basic Shape: Lightly sketch the sneaker's basic shape using simple geometric forms. Start with the outline of the sole and work your way up.
- Add the Upper: Once you have the sole's shape, sketch the upper part of the sneaker. Include the tongue and the opening for the foot.
- Refine the Outline: Go over your initial sketch, refining the lines and adding more detail. Ensure the proportions are correct.
Taking the time to create a precise outline will make the rest of the drawing process much easier and more accurate.
Adding Details to Your Sneaker Drawing
Once you have the outline, it's time to add the details that will bring your sneaker drawing to life. This is where you can showcase the unique features of the specific sneaker you're drawing.
Focus on these elements:
- Laces: Draw the laces with attention to their pattern and placement. Consider how they interact with the eyelets and the tongue.
- Texture: Add texture to the upper material to reflect whether it's leather, mesh, or another fabric. Use shading to suggest texture.
- Branding Elements: If the sneaker has logos or distinctive design features, include them in your drawing. These details add authenticity.
- Stitching and Seams: Pay attention to stitching lines and seams, as they contribute to the sneaker's overall design.
Adding these details requires patience and precision but will significantly enhance the realism of your drawing.
Shading and Highlighting Your Sneaker
Shading and highlighting are vital techniques for adding depth and dimension to your sneaker drawing. These techniques help to create a three-dimensional appearance, making your sneaker look more realistic.
Here's how to apply shading and highlighting:
- Identify Light Source: Determine where the light is coming from in your drawing. This will guide where you place shadows and highlights.
- Shade Gradually: Use a range of pencils to build up layers of shading. Start with light shading and gradually add darker tones.
- Highlight Key Areas: Use an eraser to create highlights on areas where light hits directly, such as the top of the sole or the tips of the laces.
- Blend for Smoothness: Use a blending stump or your finger to smooth out shading and create seamless transitions between light and dark areas.
With practice, your ability to shade and highlight will improve, adding realism and beauty to your sneaker drawings.
Drawing Different Sneaker Styles
Sneakers come in a wide range of styles, each with its unique characteristics. Whether you prefer classic designs or modern trends, understanding different sneaker styles can expand your drawing repertoire.
Popular sneaker styles include:
- High-Top Sneakers: These sneakers cover the ankle and often have a sporty or retro look. Pay attention to the height and any additional details like straps or buckles.
- Low-Top Sneakers: Low-top sneakers stop below the ankle and are often sleek and versatile. Focus on the clean lines and minimalistic design.
- Running Shoes: Designed for performance, running shoes have unique features like cushioned soles and breathable uppers. Capture these elements in your drawing.
- Basketball Sneakers: Known for their bold designs and high tops, basketball sneakers often have intricate patterns and textures. Highlight these aspects in your sketches.
Exploring various sneaker styles will enhance your drawing skills and allow you to experiment with different techniques and approaches.
How Does Perspective Affect Sneaker Drawing?
Perspective plays a crucial role in drawing sneakers, as it affects how the shoe is viewed and represented on paper. Understanding perspective will help you create more dynamic and realistic sneaker drawings.
Consider these perspective techniques:
- One-Point Perspective: Use this technique for a straightforward view, where lines converge at a single point on the horizon.
- Two-Point Perspective: Ideal for drawing sneakers at an angle, where lines converge at two points on the horizon.
- Foreshortening: Apply foreshortening to depict parts of the sneaker that appear shorter or compressed when viewed at certain angles.
Practicing perspective drawing will improve your ability to capture the sneaker's form and proportions accurately from various viewpoints.
Tips for Enhancing Your Sneaker Drawing
Enhancing your sneaker drawing skills involves practice, attention to detail, and a willingness to experiment with new techniques. Here are some tips to help you improve your sneaker art:
- Reference Images: Always use high-quality reference images to guide your drawing. They provide valuable insight into the sneaker's design and proportions.
- Sketch Regularly: Practice drawing sneakers regularly to build muscle memory and improve your accuracy.
- Experiment with Mediums: Try using different drawing mediums, such as ink, charcoal, or digital tools, to explore various effects and styles.
- Join Art Communities: Engage with online art communities or local art groups to share your work and receive feedback from other artists.
By implementing these tips, you'll continue to grow as an artist and enhance your ability to draw sneakers with precision and creativity.
Common Mistakes When Drawing Sneakers
Even the most talented artists can encounter challenges when drawing sneakers. Being aware of common mistakes will help you avoid them and create better artwork.
Some common mistakes include:
- Ignoring Proportions: Failing to accurately capture the proportions of the sneaker can result in a distorted drawing.
- Overlooking Details: Neglecting important details like stitching, laces, and texture can make your drawing appear flat and unfinished.
- Inconsistent Shading: Uneven or unrealistic shading can detract from the overall realism of your drawing.
- Incorrect Perspective: Drawing the sneaker from an incorrect perspective can lead to a skewed representation.
By paying attention to these potential pitfalls, you'll be better equipped to create accurate and compelling sneaker drawings.
How to Draw a Sneaker from a Photo
Drawing a sneaker from a photo is an excellent way to practice capturing details and achieving realism. Here's a step-by-step guide to help you draw a sneaker from a photo:
- Choose a Clear Photo: Select a high-resolution photo with good lighting and a clear view of the sneaker.
- Analyze the Photo: Study the photo to understand the sneaker's proportions, shapes, and details.
- Sketch the Basic Outline: Start with a light pencil sketch, capturing the sneaker's overall shape and key features.
- Add Details: Gradually add details like laces, logos, and texture, using the photo as a reference.
- Shade and Highlight: Apply shading and highlighting to create depth and realism, paying attention to the light source in the photo.
By following these steps, you'll be able to create a detailed and accurate drawing of a sneaker from a photo.
How Can You Add Texture to Your Sneaker Drawing?
Adding texture to your sneaker drawing is a crucial step in creating a realistic and visually appealing illustration. Texture helps to convey the material and feel of the sneaker, enhancing its overall appearance.
Here are some techniques for adding texture:
- Cross-Hatching: Use cross-hatching to create texture and depth, especially for areas like mesh or fabric.
- Stippling: Apply stippling for a rough or gritty texture, suitable for materials like suede or leather.
- Blending: Blend pencil strokes to create smooth textures, ideal for areas like the sole or synthetic materials.
- Impression Marks: Use erasers or other tools to create impression marks, simulating textures like stitching or perforations.
Experimenting with these techniques will allow you to effectively recreate the texture of various sneaker materials in your drawings.
Exploring Digital Sneaker Drawing Tools
With the advancement of technology, digital tools have become increasingly popular for sneaker drawing. Digital platforms offer a wide range of features that can enhance your artwork and streamline the drawing process.
Some popular digital drawing tools include:
- Adobe Illustrator: Known for its precision and versatility, Adobe Illustrator is great for creating detailed vector art of sneakers.
- Procreate: A favorite among digital artists, Procreate offers a user-friendly interface and a variety of brushes for texture and shading.
- Corel Painter: Ideal for creating realistic textures and effects, Corel Painter offers a wide range of brushes and customization options.
Digital tools provide endless possibilities for creativity and precision, making them a valuable addition to any artist's toolkit.
How to Draw a Sneaker Using Grid Method
The grid method is a proven technique for drawing accurate and proportional sneaker illustrations. It involves dividing the reference image and your drawing surface into a grid, allowing you to focus on one section at a time.
Here's how to draw a sneaker using the grid method:
- Create a Grid on the Reference Image: Draw a grid over the reference image, ensuring each square is the same size.
- Draw a Matching Grid on Your Paper: Recreate the same grid on your drawing paper, maintaining the same proportions.
- Focus on One Square at a Time: Work on one grid square at a time, drawing the details you see in the corresponding square of the reference image.
- Continue Across the Grid: Move systematically across the grid, ensuring each section is accurate before proceeding.
Using the grid method helps to break down complex images into manageable parts, resulting in more precise and proportional drawings.
Frequently Asked Questions
What materials do I need to draw a sneaker?
To draw a sneaker, you'll need pencils, erasers, paper, a ruler, and a sharpener. These basic tools will help you create detailed and accurate drawings.
How can I improve my sneaker drawing skills?
Practice regularly, use reference images, experiment with different mediums, and engage with art communities to receive feedback and improve your skills.
Can I draw sneakers digitally?
Yes, digital tools like Adobe Illustrator, Procreate, and Corel Painter offer features that enhance sneaker drawing and provide creative possibilities.
What are common mistakes when drawing sneakers?
Common mistakes include ignoring proportions, overlooking details, inconsistent shading, and incorrect perspective. Being aware of these can help you avoid them.
How do I add texture to my sneaker drawing?
Use techniques like cross-hatching, stippling, blending, and impression marks to add texture, conveying the material and feel of the sneaker.
What is the grid method, and how does it help?
The grid method involves dividing the reference image and drawing surface into a grid, allowing you to focus on one section at a time, resulting in accurate and proportional drawings.
Conclusion
Learning how to draw a sneaker is an exciting journey that combines observation, technique, and creativity. By understanding the anatomy of sneakers, gathering the right tools, and practicing various techniques, you can create realistic and detailed sneaker illustrations. Whether you choose traditional or digital mediums, the skills you develop will enhance your overall artistic abilities and open new avenues for creative expression. Keep practicing, stay inspired, and enjoy the process of bringing your sneaker drawings to life!