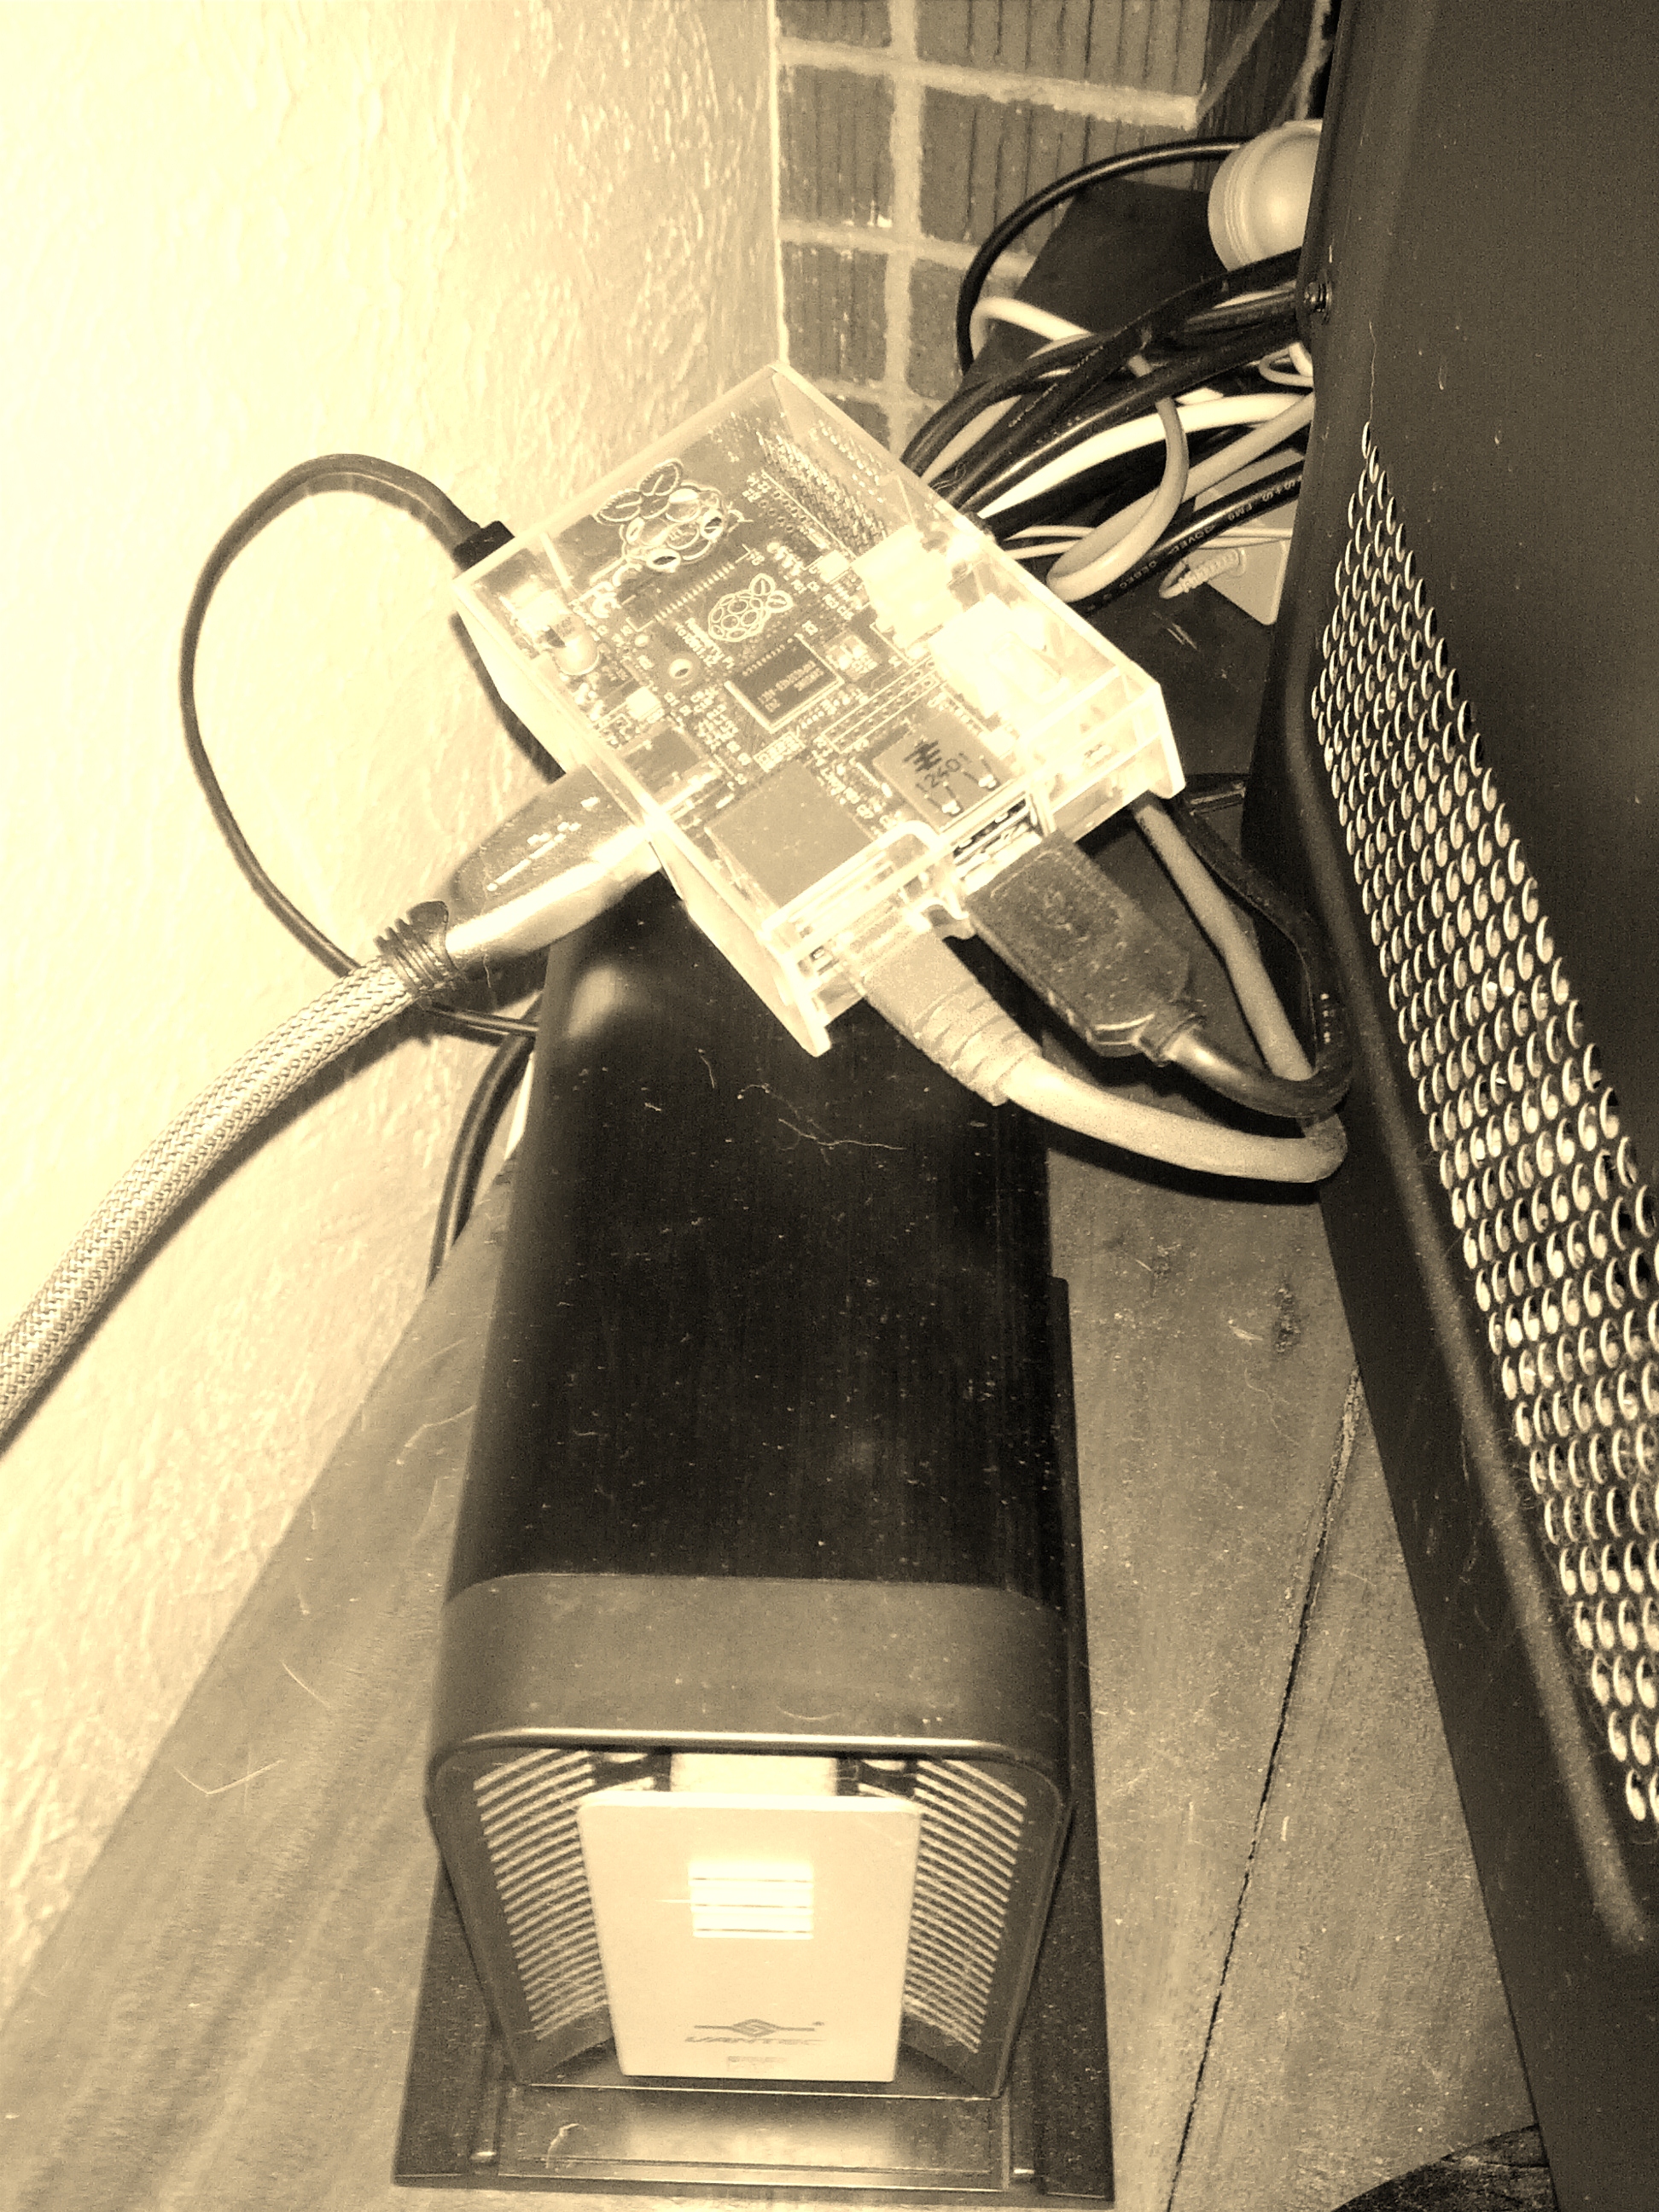
Unlock the full potential of your Raspberry Pi by setting up a remote access SSH server. This powerful tool allows you to manage your device from anywhere in the world, providing unparalleled flexibility for developers, hobbyists, and tech enthusiasts alike. With remote access, you can execute commands, transfer files, and monitor your Raspberry Pi without being physically present. Whether you're troubleshooting, automating tasks, or experimenting with projects, an SSH server is an essential feature for maximizing the utility of your device.
Setting up a Raspberry Pi remote access SSH server is simpler than you might think. By enabling SSH, you can securely connect to your device over a network, ensuring that your data remains protected while granting you the freedom to control your Pi remotely. This guide will walk you through every step of the process, from initial configuration to advanced tips for optimizing your setup. You'll also learn about the tools and techniques that make remote access not only possible but also efficient and secure.
With the growing popularity of Raspberry Pi devices, understanding how to configure remote access via SSH has become a crucial skill for anyone looking to leverage this versatile hardware. From home automation systems to IoT projects, the ability to remotely manage your Raspberry Pi opens up a world of possibilities. This article will provide you with all the information you need to get started, ensuring that you can harness the power of your Raspberry Pi with confidence.
Read also:Discovering The Cast Of 1883 A Journey Through Yellowstones Prequel
Table of Contents
- What is Raspberry Pi Remote Access SSH Server?
- Why Should You Use Raspberry Pi Remote Access SSH Server?
- How to Enable SSH on Your Raspberry Pi?
- What Are the Prerequisites for Setting Up SSH?
- How to Connect to Your Raspberry Pi Remotely?
- Is Raspberry Pi Remote Access SSH Server Secure?
- How to Troubleshoot Common SSH Issues?
- What Are the Best Tools for Raspberry Pi Remote Access?
- Can You Automate Tasks with Raspberry Pi Remote Access SSH Server?
- How to Optimize Your Raspberry Pi SSH Server?
What is Raspberry Pi Remote Access SSH Server?
Raspberry Pi remote access SSH server refers to the process of enabling Secure Shell (SSH) on your Raspberry Pi, allowing you to access and control the device from a remote location. SSH is a cryptographic network protocol that provides a secure way to communicate with your Raspberry Pi over an unsecured network. This feature is particularly useful for users who want to manage their Pi without being physically present, offering a seamless way to execute commands, transfer files, and monitor system performance.
SSH is widely regarded as one of the most secure methods for remote access, thanks to its encryption capabilities. When you enable SSH on your Raspberry Pi, you can connect to it using an SSH client from any device with internet access. This makes it an ideal solution for developers, system administrators, and hobbyists who need to manage their Pi from different locations. Whether you're working on a home automation project or running a server, SSH ensures that your data remains protected while granting you full control over your device.
Why Should You Use Raspberry Pi Remote Access SSH Server?
There are numerous reasons why setting up a Raspberry Pi remote access SSH server is beneficial. First and foremost, it allows you to manage your device from anywhere in the world, eliminating the need for physical access. This is particularly useful for users who have deployed their Raspberry Pi in remote locations, such as a home server or IoT device. With SSH, you can troubleshoot issues, update software, and even reboot your device without being physically present.
Another advantage of using SSH is the level of security it provides. Unlike other remote access methods, SSH encrypts all data transmitted between your device and the Raspberry Pi, ensuring that your connection remains secure. This is especially important if you're managing sensitive data or running critical applications on your Pi. Additionally, SSH allows you to automate tasks, such as running scripts or scheduling backups, making it an invaluable tool for streamlining your workflow.
How to Enable SSH on Your Raspberry Pi?
Enabling SSH on your Raspberry Pi is a straightforward process that can be completed in just a few steps. The first step is to ensure that your Raspberry Pi is running the latest version of the operating system. Once you've updated your system, you can enable SSH by accessing the Raspberry Pi Configuration tool. This can be done either through the desktop interface or by using the terminal.
To enable SSH via the terminal, simply open a terminal window and type the following command: sudo raspi-config. From the menu, navigate to "Interfacing Options" and select "SSH." You'll be prompted to enable SSH, and once you confirm, the service will be activated. Alternatively, you can create an empty file named "ssh" in the boot directory of your Raspberry Pi's SD card. This method is particularly useful if you're setting up your Pi headlessly, without a monitor or keyboard.
Read also:Comprehensive Guide To Iaai Subasta Everything You Need To Know About Iaai Subasta A Complete Guide
What Are the Prerequisites for Setting Up SSH?
Before you can set up a Raspberry Pi remote access SSH server, there are a few prerequisites you need to consider. First, ensure that your Raspberry Pi is connected to a stable network with internet access. This is essential for establishing a secure connection between your device and the Pi. Additionally, you'll need to know the IP address of your Raspberry Pi, which can be found using tools like ifconfig or by checking your router's connected devices list.
Another important prerequisite is having an SSH client installed on the device you'll use to connect to your Raspberry Pi. Popular SSH clients include PuTTY for Windows and the built-in Terminal app for macOS and Linux. Once you have these prerequisites in place, you're ready to proceed with enabling and configuring SSH on your Raspberry Pi.
How to Connect to Your Raspberry Pi Remotely?
Connecting to your Raspberry Pi remotely is a simple process once SSH is enabled. Start by opening your SSH client and entering the IP address of your Raspberry Pi. You'll also need to specify the port number, which is typically 22 for SSH connections. Once you've entered the necessary details, initiate the connection and log in using your Raspberry Pi's username and password.
For added convenience, you can set up SSH key-based authentication to eliminate the need for entering your password each time you connect. This involves generating a public-private key pair on your local machine and copying the public key to your Raspberry Pi. Once configured, you can connect to your Pi securely without entering a password, streamlining the remote access process.
Is Raspberry Pi Remote Access SSH Server Secure?
One of the most common concerns users have about remote access is security. Fortunately, the Raspberry Pi remote access SSH server is designed with security in mind. SSH encrypts all data transmitted between your device and the Pi, making it extremely difficult for unauthorized users to intercept or tamper with your connection. Additionally, you can enhance security by changing the default SSH port, disabling password authentication, and using firewalls to restrict access.
It's also important to keep your Raspberry Pi's operating system and software up to date. Regular updates ensure that any security vulnerabilities are patched, reducing the risk of unauthorized access. By following these best practices, you can enjoy the convenience of remote access while maintaining a high level of security.
How to Troubleshoot Common SSH Issues?
While SSH is generally reliable, you may encounter issues from time to time. One common problem is being unable to connect to your Raspberry Pi. This could be due to an incorrect IP address, a firewall blocking the connection, or SSH not being enabled on the Pi. To troubleshoot, start by verifying the IP address and ensuring that SSH is active. You can also check your router's settings to confirm that the Pi is connected to the network.
Another issue you might face is a "connection refused" error. This typically occurs when the SSH service is not running on your Raspberry Pi. To resolve this, log in to your Pi locally and restart the SSH service using the command sudo systemctl restart ssh. If the problem persists, consider reinstalling the SSH package or consulting the Raspberry Pi forums for additional support.
What Are the Best Tools for Raspberry Pi Remote Access?
There are several tools available to enhance your Raspberry Pi remote access experience. One of the most popular is PuTTY, a lightweight SSH client for Windows users. PuTTY provides a simple interface for connecting to your Raspberry Pi and supports advanced features like key-based authentication. For macOS and Linux users, the built-in Terminal app is a reliable option that requires no additional software.
Another excellent tool is MobaXterm, which offers a comprehensive suite of features for remote access, including file transfer capabilities and multi-tab support. If you're looking for a more user-friendly option, consider using a graphical interface like RealVNC, which allows you to remotely access your Raspberry Pi's desktop environment. These tools can significantly enhance your productivity and make managing your Pi more efficient.
Can You Automate Tasks with Raspberry Pi Remote Access SSH Server?
Yes, one of the key advantages of using a Raspberry Pi remote access SSH server is the ability to automate tasks. By writing scripts and scheduling them to run at specific times, you can automate repetitive tasks such as backups, updates, and system monitoring. This not only saves time but also ensures that your Raspberry Pi remains up to date and secure.
To automate tasks, you can use tools like cron, a time-based job scheduler available on Linux systems. By adding your scripts to the cron table, you can schedule them to run automatically without manual intervention. For example, you could set up a script to back up important files to an external drive every night or update your system's software weekly. Automation is a powerful feature that can greatly enhance the functionality of your Raspberry Pi.
How to Optimize Your Raspberry Pi SSH Server?
Optimizing your Raspberry Pi remote access SSH server can improve performance and security. One way to do this is by disabling unused services and closing unnecessary ports to reduce the attack surface. You can also configure SSH to use stronger encryption algorithms and limit access to specific IP addresses for added security.
Another optimization tip is to use lightweight software and disable graphical interfaces if you're running your Raspberry Pi as a headless server. This frees up system resources and ensures that your Pi operates efficiently. Additionally, regularly monitoring system logs and performance metrics can help you identify and address potential issues before they become critical.