Unlock the power of Raspberry Pi with SSH tunneling to enhance your remote access capabilities. Whether you're a hobbyist, developer, or IT professional, understanding how to set up an SSH tunnel on your Raspberry Pi can revolutionize the way you interact with your device. SSH tunneling not only ensures secure communication but also allows you to bypass firewalls and access restricted networks with ease. In this guide, we will explore everything you need to know about Raspberry Pi tunnel SSH, from setting it up to troubleshooting common issues.
SSH tunneling is a critical tool for anyone looking to securely connect to their Raspberry Pi from anywhere in the world. With the increasing popularity of IoT devices, Raspberry Pi has become a go-to solution for many projects. However, ensuring secure access to your Pi is essential, especially when working on sensitive tasks or accessing it over public networks. By leveraging SSH tunneling, you can encrypt your data and protect it from unauthorized access, making it a must-know skill for Raspberry Pi enthusiasts.
Many users struggle with configuring SSH tunnels on their Raspberry Pi due to the technical nature of the process. But don’t worry—this guide is designed to simplify the process and provide step-by-step instructions for setting up a Raspberry Pi tunnel SSH. From beginners to advanced users, this article will cater to all skill levels, ensuring that you can confidently establish secure connections and maximize the potential of your Raspberry Pi.
Read also:Michelle Pfeiffer The Talented Actress Shaping Hollywoods Legacy
Table of Contents
- What is SSH Tunneling?
- Why Use Raspberry Pi Tunnel SSH?
- How to Set Up SSH Tunneling on Raspberry Pi?
- Can You Use SSH Tunneling for Web Access?
- What Are the Benefits of SSH Tunneling?
- Common Issues with Raspberry Pi Tunnel SSH
- How to Troubleshoot SSH Tunnel Problems?
- Is SSH Tunneling Secure for Raspberry Pi?
- Advanced SSH Tunneling Techniques
- Conclusion
What is SSH Tunneling?
SSH tunneling, also known as SSH port forwarding, is a method of creating a secure connection between a local machine and a remote server. This technique allows users to encrypt their data and securely transmit it over an untrusted network. SSH tunneling is widely used for accessing remote servers, securing web traffic, and bypassing firewalls. It works by forwarding specific ports from the local machine to the remote server through an encrypted SSH connection.
For Raspberry Pi users, SSH tunneling is particularly useful for remotely accessing their devices. Whether you're managing a home automation system, hosting a web server, or running a custom application, SSH tunneling ensures that your data remains private and secure. By understanding the basics of SSH tunneling, you can unlock the full potential of your Raspberry Pi and take your projects to the next level.
Why Use Raspberry Pi Tunnel SSH?
Using Raspberry Pi tunnel SSH offers numerous advantages, especially for users who need secure remote access. Here are some compelling reasons to consider setting up an SSH tunnel on your Raspberry Pi:
- Enhanced Security: SSH tunneling encrypts your data, protecting it from eavesdropping and unauthorized access.
- Bypass Firewalls: With SSH tunneling, you can access restricted networks and bypass firewalls that block certain ports.
- Remote Access: Whether you're traveling or working from home, SSH tunneling allows you to securely connect to your Raspberry Pi from anywhere.
- Cost-Effective: Raspberry Pi is an affordable solution for running SSH tunnels, making it accessible to hobbyists and professionals alike.
By leveraging Raspberry Pi tunnel SSH, you can ensure that your remote connections are both secure and reliable, giving you peace of mind while managing your projects.
How to Set Up SSH Tunneling on Raspberry Pi?
Setting up SSH tunneling on your Raspberry Pi is easier than you might think. Follow these step-by-step instructions to configure an SSH tunnel:
- Enable SSH on Raspberry Pi: Before you begin, ensure that SSH is enabled on your Raspberry Pi. You can do this by accessing the Raspberry Pi Configuration tool or using the
raspi-configcommand. - Install an SSH Client: On your local machine, install an SSH client such as PuTTY (for Windows) or use the built-in terminal (for macOS and Linux).
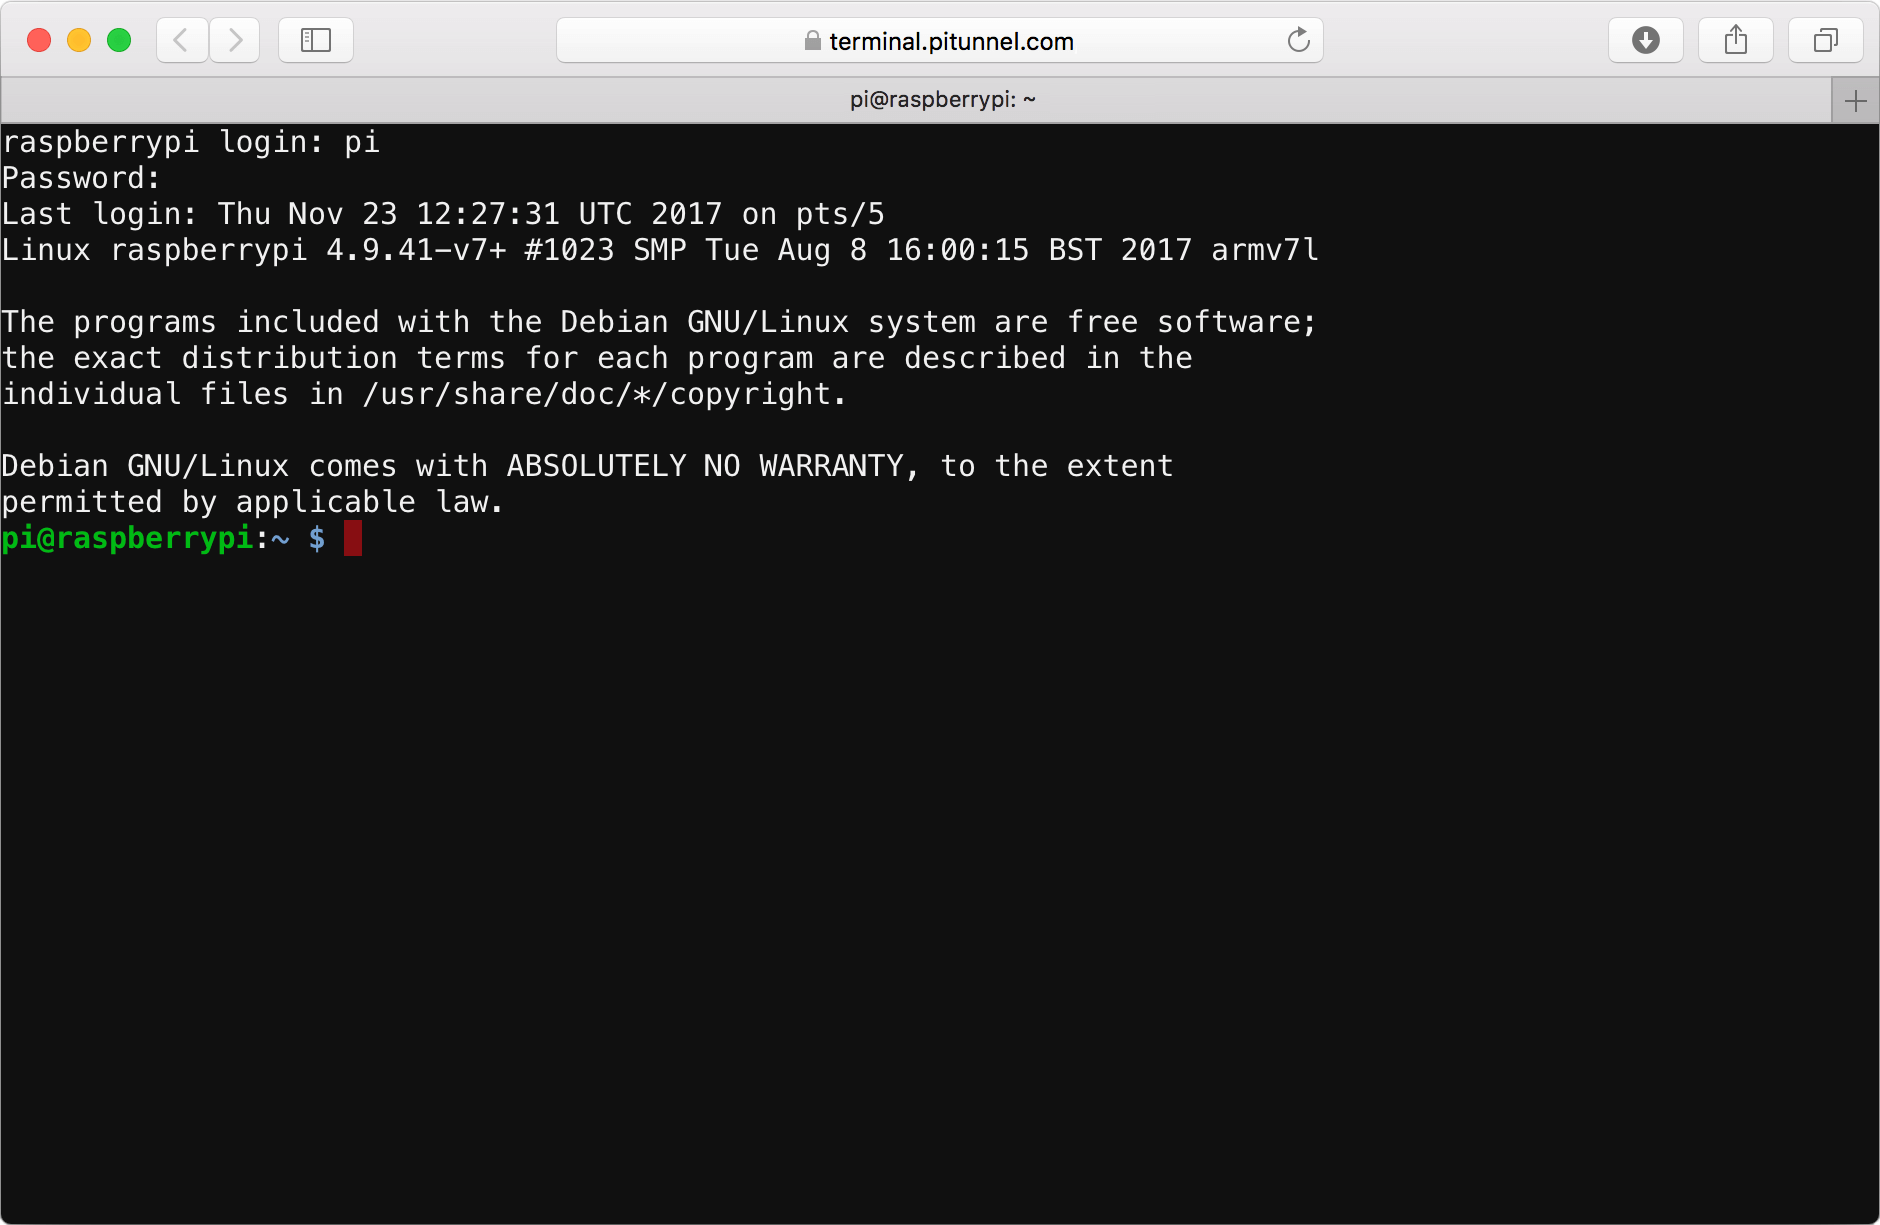
- Connect to Raspberry Pi: Use the SSH command to connect to your Raspberry Pi. For example:
ssh pi@your_raspberry_pi_ip. - Set Up Port Forwarding: Use the
-Lflag to forward a local port to a remote port. For example:ssh -L 8080:localhost:80 pi@your_raspberry_pi_ip. - Verify the Connection: Once the tunnel is established, test it by accessing the forwarded port on your local machine.
By following these steps, you can successfully set up an SSH tunnel on your Raspberry Pi and enjoy secure remote access.
Read also:The Enduring Legacy Of Lou Reeds Walk On The Wild Side A Musical Odyssey
Can You Use SSH Tunneling for Web Access?
Yes, you can use SSH tunneling to securely access web applications hosted on your Raspberry Pi. This is particularly useful if you're running a web server or managing a home automation dashboard. By forwarding the appropriate ports, you can access your web applications through an encrypted SSH tunnel, ensuring that your data remains secure.
For example, if your Raspberry Pi is hosting a web server on port 80, you can forward this port to your local machine using the following command:
ssh -L 8080:localhost:80 pi@your_raspberry_pi_ip
Once the tunnel is established, you can access the web application by navigating to http://localhost:8080 on your local machine.
What Are the Benefits of SSH Tunneling?
SSH tunneling offers several benefits, especially for Raspberry Pi users. Here are some of the key advantages:
- Secure Data Transmission: SSH tunneling encrypts your data, protecting it from interception and unauthorized access.
- Access Restricted Networks: With SSH tunneling, you can bypass firewalls and access networks that block certain ports.
- Remote Management: SSH tunneling allows you to securely manage your Raspberry Pi from anywhere in the world.
- Cost-Effective Solution: Raspberry Pi is an affordable platform for running SSH tunnels, making it accessible to users of all budgets.
By leveraging these benefits, you can enhance the security and functionality of your Raspberry Pi projects.
Common Issues with Raspberry Pi Tunnel SSH
While setting up an SSH tunnel on your Raspberry Pi is relatively straightforward, there are some common issues that users may encounter. These include:
- Connection Refused: This error occurs when the SSH service is not running on your Raspberry Pi. Ensure that SSH is enabled and the service is active.
- Incorrect Port Forwarding: Double-check your port forwarding settings to ensure that the correct ports are being forwarded.
- Firewall Restrictions: Some networks may block SSH traffic. Check your firewall settings to ensure that port 22 (or your custom SSH port) is open.
- Authentication Errors: Ensure that you're using the correct username and password or SSH key for authentication.
By addressing these issues, you can ensure a smooth and successful SSH tunneling experience.
How to Troubleshoot SSH Tunnel Problems?
Troubleshooting SSH tunnel problems requires a systematic approach. Here are some steps you can take to resolve common issues:
- Check SSH Service Status: Use the
systemctl status sshcommand to verify that the SSH service is running on your Raspberry Pi. - Verify Network Connectivity: Ensure that your Raspberry Pi is connected to the network and that you can ping it from your local machine.
- Inspect Firewall Settings: Check your firewall rules to ensure that SSH traffic is allowed.
- Review Logs: Use the
journalctl -u sshcommand to review SSH logs for any errors or warnings.
By following these steps, you can identify and resolve most SSH tunneling issues.
Is SSH Tunneling Secure for Raspberry Pi?
Yes, SSH tunneling is a secure method for accessing your Raspberry Pi remotely. By encrypting your data, SSH tunneling protects it from eavesdropping and unauthorized access. However, it's important to follow best practices to ensure maximum security:
- Use Strong Passwords: Always use strong, unique passwords for your Raspberry Pi and SSH accounts.
- Enable Key-Based Authentication: Key-based authentication is more secure than password-based authentication.
- Keep Software Updated: Regularly update your Raspberry Pi's operating system and SSH software to patch any vulnerabilities.
- Limit Access: Restrict SSH access to specific IP addresses or networks to reduce the risk of unauthorized access.
By implementing these security measures, you can ensure that your Raspberry Pi tunnel SSH remains secure.
Advanced SSH Tunneling Techniques
For users looking to take their SSH tunneling skills to the next level, there are several advanced techniques to explore:
- Dynamic Port Forwarding: Use the
-Dflag to create a SOCKS proxy for dynamic port forwarding. - Reverse SSH Tunneling: Set up a reverse SSH tunnel to allow remote access to a device behind a NAT.
- Multi-Hop SSH Tunneling: Chain multiple SSH tunnels together to access devices behind multiple firewalls.
- SSH Tunnel Automation: Use scripts to automate the creation and management of SSH tunnels.
By mastering these advanced techniques, you can unlock even more possibilities with Raspberry Pi tunnel SSH.
Conclusion
Raspberry Pi tunnel SSH is a powerful tool for securely accessing your device remotely. Whether you're managing a home automation system, hosting a web server, or running a custom application, SSH tunneling ensures that your data remains private and secure. By following the steps outlined in this guide, you can confidently set up and troubleshoot SSH tunnels on your Raspberry Pi, unlocking its full potential for your projects.
With its affordability, versatility, and ease of use, Raspberry Pi is the perfect platform for experimenting with SSH tunneling. By leveraging the benefits of SSH tunneling, you can enhance the security and functionality of your projects, ensuring that your data remains protected in an increasingly connected world.